01 09 10

Saturday, December 24, 2011

Merry Christmas 2011


I just finished wrapping the last gift.  Can you say procrastination?  At least, I am not trying to finish a quilt for tomorrow.  Not that there is anything wrong with that.  Been there, done that a few times.


May Ya'll have a Very Merry Christmas and a Blessed New Year.

Tuesday, December 13, 2011

Christmas Stocking Tutorial

I like things fast and simple, so I make my stocking a little different than most. 

Step 1:  Find a stocking that you like.  ( In your home, in another home or on the internet)  Draw around the whole stocking on a piece of paper.  Add 1/4" around the whole thing.  This is your pattern for the outside of your stocking.  Cut out your paper stocking.

Step 2:  Lay your paper stocking pattern on a longer sheet of paper. Draw around it and add two times the width of the cuff, to the top of the pattern.  This is your lining/cuff pattern.

Two sets of stocking and lining/cuff pieces.

Step 3:  Lay two pieces of fabric right sides together and pin on stocking paper pattern and cut out.  Do the same thing for your lining/cuff paper pattern.

Step 4:  You will have two fabric stocking pieces and two fabric lining/cuff pieces.  Match one stocking piece and one lining/cuff piece at the tops, right sides together.  Sew a 1/4" seam.  Do the same for the other two pieces.  MAKE SURE BOTH TOES ARE FACING THE SAME DIRECTION, WHEN YOU OPEN UP FLAT

THE TOE OF ALL FOUR PIECES SHOULD POINT IN THE SAME DIRECTION.

Step 5:  Lay two long pieces right side to right side.  Placing stocking pieces together and lining/cuff pieces together.  Pin as needed.  When you are ready to sew, your piece should look like the photo above.

Step 6:  Sew a 1/4" seam around the whole piece, LEAVING A SMALL OPENING FOR TURNING, along the back side of the lining/cuff piece.  Make sure it is below where the cuff will be. 

I use two pins to mark my beginning and where to stop, so I won't forget.

Step 7:  Remove any pins and clip around the toes on each end to make for a smooth turn.  Do not clip thru your sewing.


Step 8:  Turn the whole piece so right sides are all showing.  Remember, toes should still be pointing in the same direction.

Step 9:  Whip stitch the small opening shut.


Step 10:  Starting at the toe of your lining/cuff end, stuff the lining/cuff piece inside the stocking end.  I find that it is easier to pinch the toe of the lining and push it all the way to the toe of the stocking.  This helps to keep things from getting twisted.  Keeping your hand inside, run your fingers along the seams of the foot to match everything up.  Take your arm out and grab the toe and heel of both the stocking and lining and give it a good shake.  You will end up with your stocking and the perfect cuff at the top.  Just turn down the cuff and you are finished.


Stocking with cuff at top, before folding down.


Step 11:  Optional:  Tack the two toe pieces together with a couple of small stitches
and sew a small piece of ribbon to the top for hanging.

Stocking with cuff turned down.


Sunday, December 11, 2011

Christmas Stockings

My quilt guild donates Christmas stockings to a local charity each year.  They are filled by the charity and given to local children, along with food and toys to make Christmas brighter for the whole family.  Pictured below are the six that I made this year.


I make my stockings a little different than most people.  I like to make the lining and the cuff as one piece.  I'll put up a tutorial as a separate post.


Friday, December 9, 2011

Linus Project Quilts for Preemies

The quilt guild that I belong to, donates quilts to Project Linus each year.   We were asked for Christmas Preemie Quilts a few months ago.  They are about 24" x 24".  One side is flannel and the other is cotton, no batting.  I made three, using Christmas cotton fabric and blue, sheep covered flannel for the backs.


Visit the website above to find a chapter in your state.  The quilts go to babies and children that spend too much of their young lives in our local hospitals.


Monday, November 28, 2011

Alzheimer's Art Quilt Initiative

My last day at the IQA Show, I visited the Alzheimer's Art Quilt Initiative Booth.  I purchased the three quilts below.  All the proceeds go to research a cure for Alzheimer's disease.  If you would like to make or buy a quilt, the information is at http://www.alzquilts.org/.

"Come, Join Me" by Lynda Kepler, NC


"The Glass Is Half Full" by Tove Sondergaard, AZ


"Alzheimers Cans You" by Faye Holbrook, KY


Friday, November 25, 2011

The IQA Show in Houston

I spent four wonderful days at the Houston IQA Show.  I was able to stay in the Hilton Hotel, that is connected to the George R. Brown, for the first time.  I, also, took classes for the first time. 


Our room view was the Toyota Center.


As you can see, the weather was beautiful, even a bit cool.

On Wednesday, I attended the IQA Top Winners' Luncheon.  After a few minutes from each winner, Marti Michell spoke on  "The Accidental Quilter".    Next, I attended a 1 hour lecture called, "So What Is Thread Painting All About?", presented by Nancy Prince.  Wednesday night is Premier Night and IQA members get in at 5pm and can shop until 10pm.  After five hours of shopping the vendors, I was really glad to see my hotel room.

Thursday, I attended another Luncheon.  Marianne Fons spoke on "Why We Quilt".  I attended a 2 hour "Mixed Media Miscellany".  This consist of 17 different teachers giving a short talk/presentation.  Some of the topics were crafting green, felting, using blue glue as a resist, using TAP and Lutradar, using several types of paints and dyes and making your own stamps.  We moved from teacher to teacher as we wished.  I learned a lot and took pages of notes.  More shopping from 4-7pm on the main floor.

Friday, I took a 3 hour class called "Fabric Collage Book" with Lilla LeVine.  We made a wonderful journal with fabric and papers from Paris. 

Here is my Fabric Collage Journal.  I walked out of class with a finished project. WooHoo!

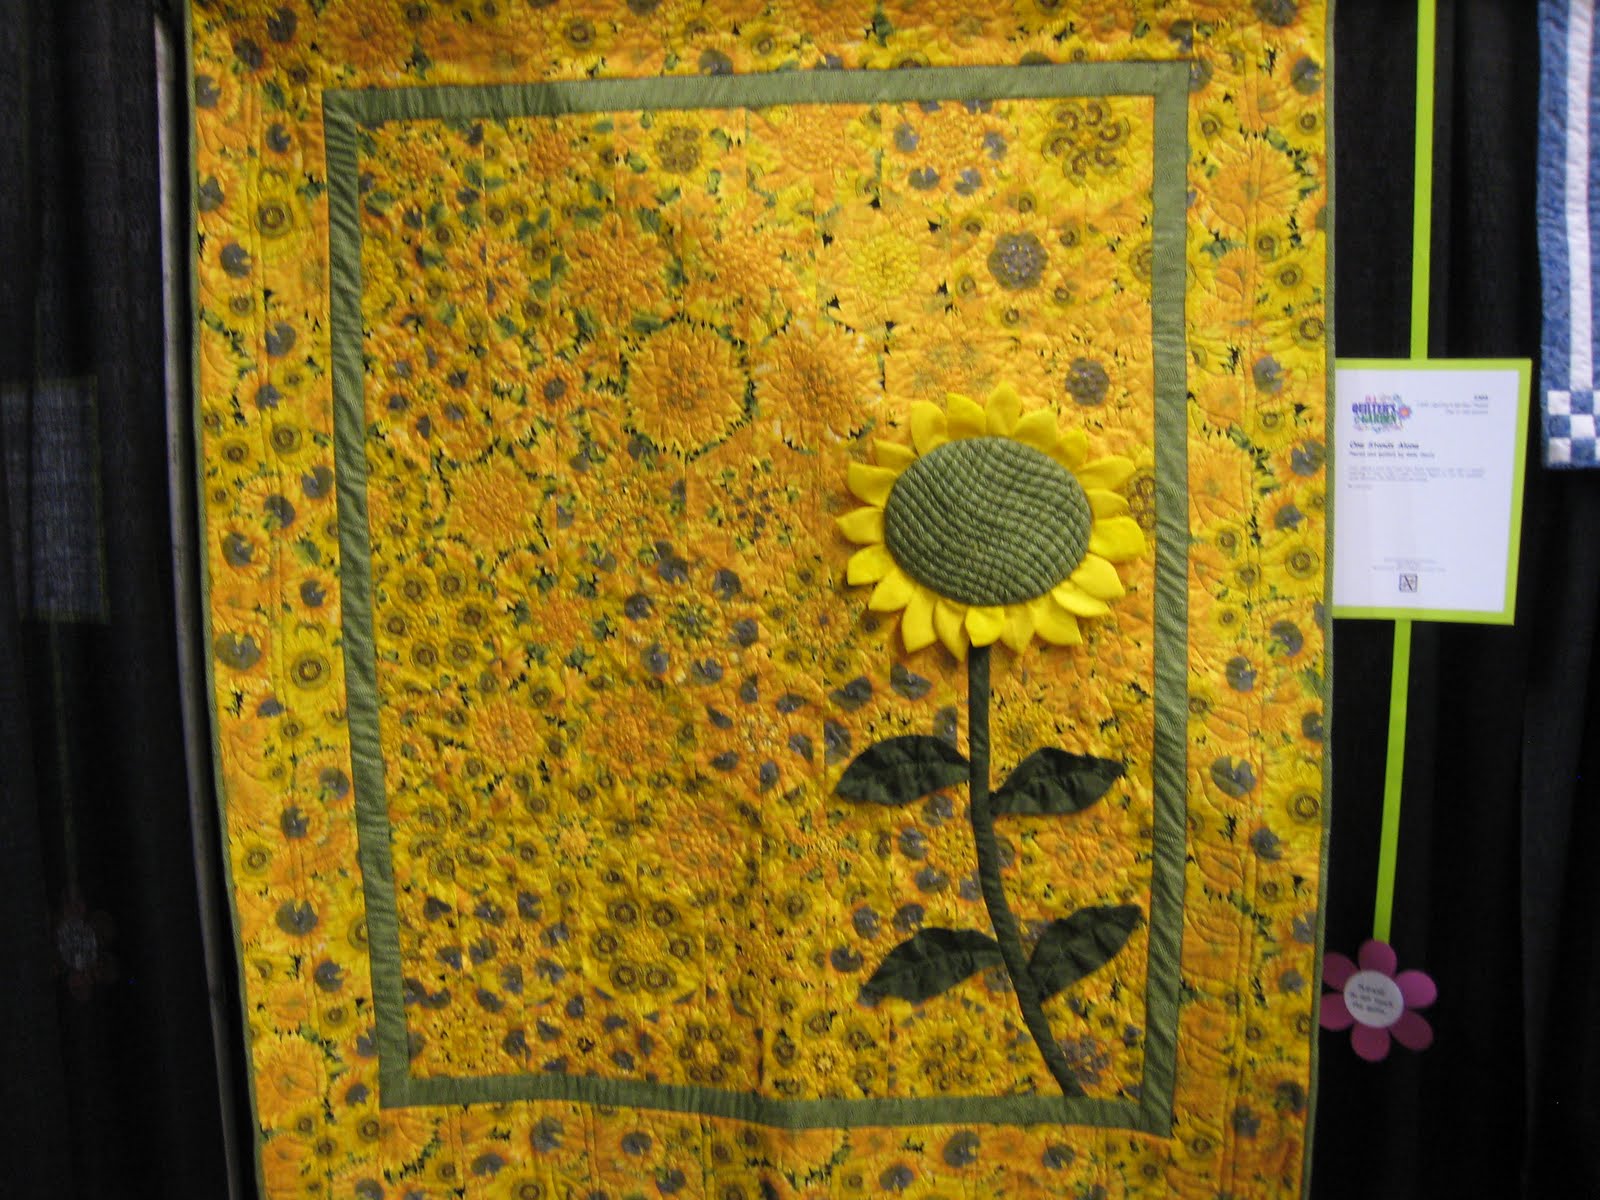
I spent a couple of hours on the main floor, looking at Quilts and taking a few pictures.  I'll post those on another day.  I attended a 3 hour evening class called, "Modern Needle Felting-Layered & Textured", with Jane LaFazio.  We used Babylock Embellishers and I loved it.  No thread or bobbin, just twelve needles that needle punch everything down like magic.  I would like Santa to bring me one of those babies.  Another night that I was glad that my bed was waiting for me, across the walkway.  After a short rest, I had to pack up everything that I could for a noon check out on Saturday.

This is my needle felted creation.

Judith's needle felted creation.

Jane LaFazio discussing the next step after we had finished the first layer and become familiar with our machines.  Show & Tell and what comes next. 

Saturday morning, I took a 3 hour class with Tricia Spitzmueller, called "Feed Dogs Up, Feed Dogs Down".  She is a sweet spirit.  It was fun to learn the basics and try my hand at FMQing, but it will take hours and hours of practice to be any good at this.  I rushed back to the hotel to check out and pack the car.  I had lunch and spent a few more hours with the quilts.  In the evening, I attended a concert by Ricky Tims and it was time to head home.  Ricky Tims is a real Sweetheart, too.

I shared these days with my Best Quilting Friend, Judith.  She has had a lot of health problems this year and I am thankful that We were able to spend this time together.  We are already making plans for next year.

Thursday, November 24, 2011

Happy Thanksgiving

I hope that you all have a wonderful day and another year of  blessings to be thankful for.


Friday, June 3, 2011

West Houston Quilters Guild Show, April, 2011- Part 2

More quilts from the West Houston Quilters Guild Show, April, 2011.


This is a Sudoku Quilt.  The colors are one solution and the block designs are the second solution.
OMG, that hurts my head.


Each of the noses and stars are made up of hundreds of French Knots.


I love Turtles.

Another Turtle.